Ne pas confondre un Photomaton et un PhotoBooth, même si les deux ne sont pas incompatible.
Idée principale :
Créer un appareil photo géant qui permet de faire la prise de vue ainsi que l'impression immédiate de la photo générer.
Logiciel pour Mac Os X Sierra :
Raspberry Pi Photo Booth:
https://hackaday.io/project/6625-raspberry-pi-photobooth
photo_booth_ver1.py
https://github.com/guyisit/photobooth/blob/master/photo_booth_ver1.py
How to paste a PNG image with transparency to another image in PIL without white pixels?
How to Build a Raspberry Pi Photobooth
http://adamdynamic.com/build-raspberry-pi-photobooth/
Tuto Instructable
http://www.instructables.com/id/Raspberry-Pi-photo-booth-controller/
Séquence de prise de Vue :
- Son : " Etes vous pret ? "
- Attente 2sec
- Son : "3,2,1 "
- Son : "Shutter "
- GPIO : Flash du bouton.
- APN : Capture Image 1
- Son : "Vous etes super, une seconde photo, on se rapproche de l'appareil "
- Attente 2sec
- Son : "Shutter "
- GPIO : Flash du bouton.
- APN : Capture Image 2
- Son : "Magnifique, une dernière en mode Foilie"
- Son : "Shutter "
- GPIO : Flash du bouton.
- APN : Capture Image 3
- Son : "Génial, j'ai l'impression que l'on ne voit que vous à cette soirée. Attendez l'impression "
- MontagePhoto
- Filtre
- Recup Photo
- Crop
- Rotate
- Emplacement
- Impression
- Attente Impression
- Son: "Au revoir, au suivant"
- GPIO : Clignotement du bouton.

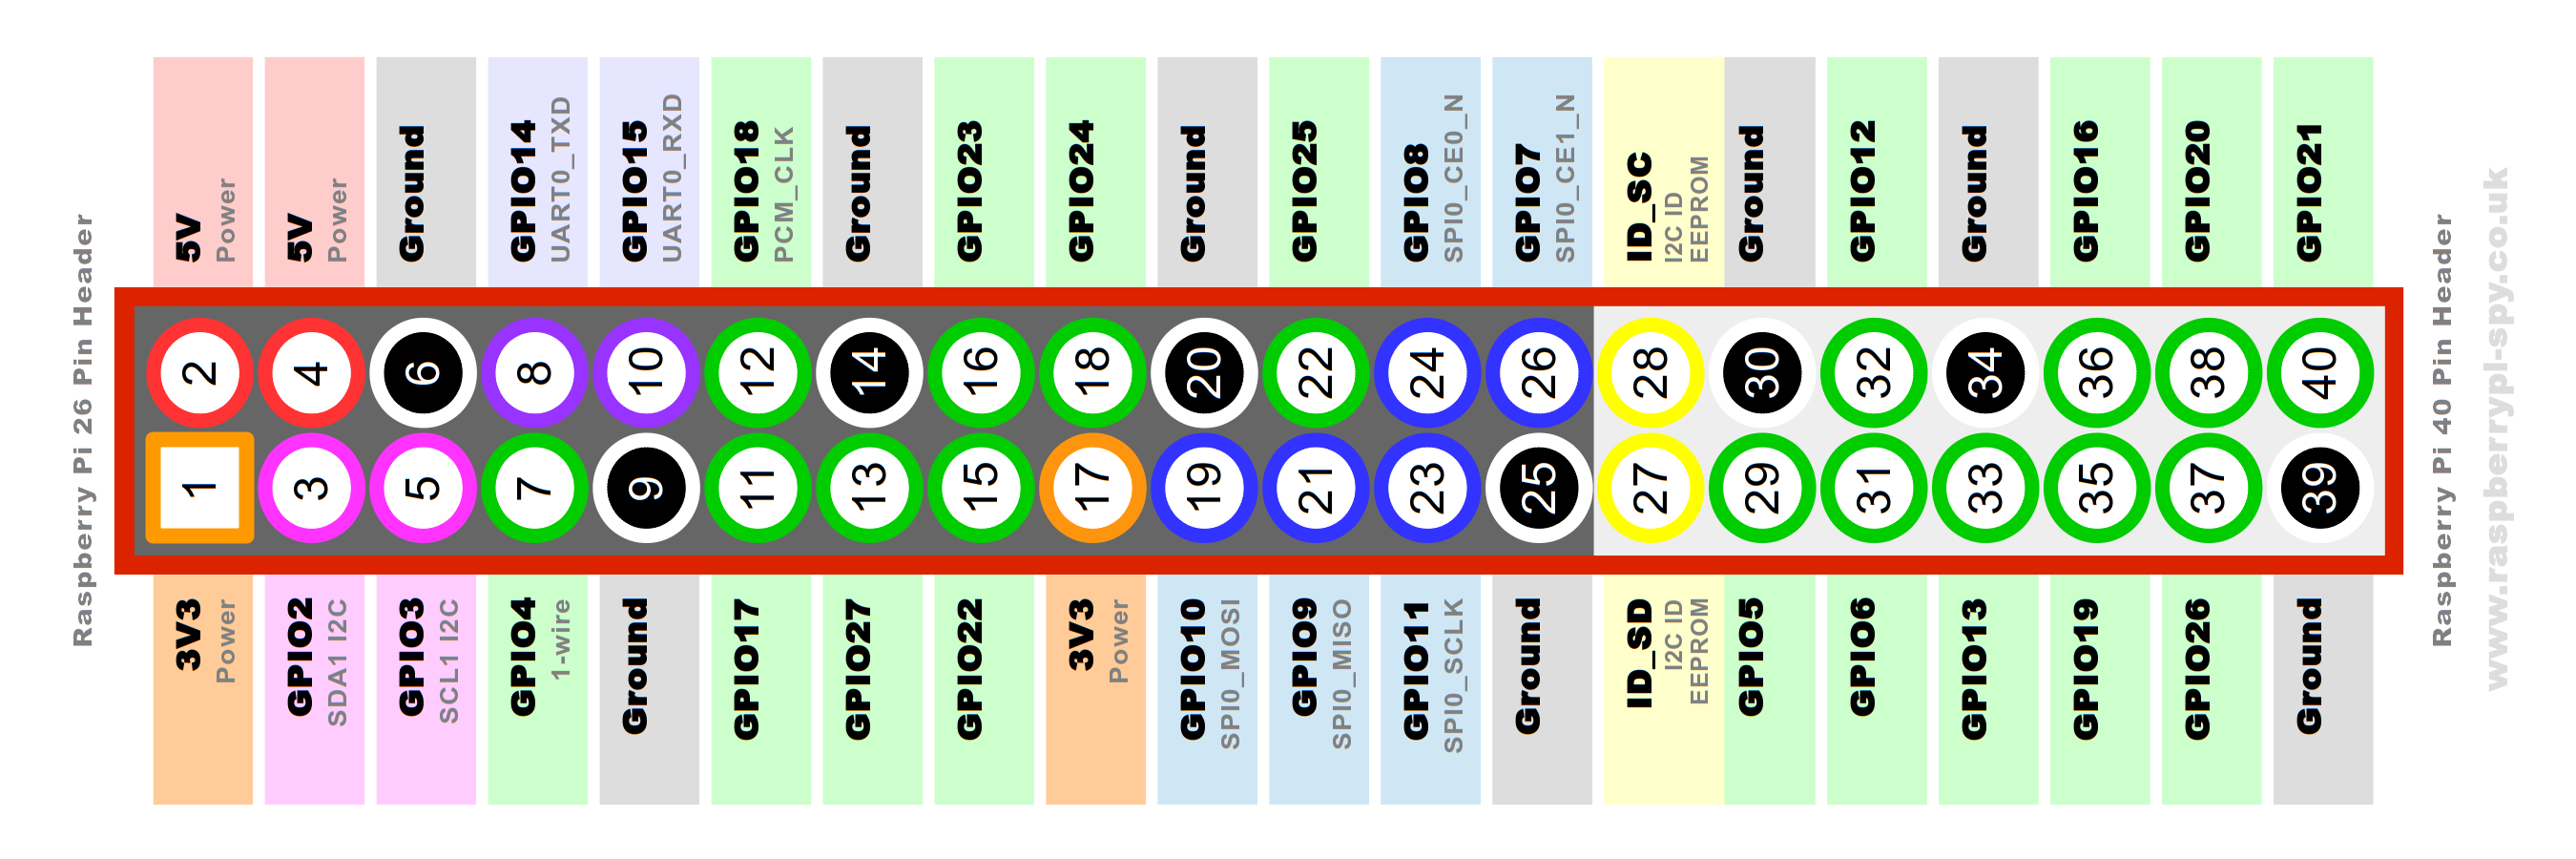
7 : LED READY
11 : WAIT
13 : SWITCH
Etude Concurrence
